
Multiversal Piece Builds for Farming and Bosses
Build around the attacks you use most. For farming, choose moves that reach the whole pack. For bosses, bring a second attack slot to cover cooldowns and enough Defense to stay in the fight.
Start with Katana and invest in Sword and Defense, or use Ice for grouped enemies and invest in Devil Fruit and Defense. Light adds range and flight, while Fire gives you wide bursts. For Rend material bosses, use Kingswake with Flash Fist if you can fight up close, or consider Wolfshot for ranged damage. On Normal, pair Shade Fangs with Shadow Rend in Double Dungeon or Mirage with Shadow Rend in Hueco Mundo. Save your equipment under Settings → BUILD.
Farming and Boss Loadouts
| Goal | Loadout | Reason to choose it |
|---|---|---|
| Starter Island quests | Katana + Sword/Defense | Tutorial-funded sword |
| Clustered enemies | Ice + Devil Fruit/Defense | Three area attacks |
| Ranged farming and travel | Light + Devil Fruit/Defense | Ranged bolt and flight |
| Burst damage on packs | Fire + Devil Fruit/Defense | Forward opener and wide blasts |
| Grounded packs | Sand + Devil Fruit/Defense | Ground-line and area attacks |
| Packs in front or around you | Love + Devil Fruit/Defense | Frontal and close-range bursts |
| Jungle Trial and Nightfall | Nightfall | Long slash and close sweep |
| Grouped Shibuya enemies | Kingswake | Close-range group damage |
| Rend material bosses | Kingswake + Flash Fist | Two close-range movesets |
| Boss damage from range | Wolfshot | Ranged energy attacks |
| Double Dungeon · Normal | Shade Fangs + Shadow Rend | Rush, wide slashes, melee swap |
| Hueco Mundo · Normal | Mirage + Shadow Rend | Area bursts and melee follow-up |
Start with Katana or a fruit
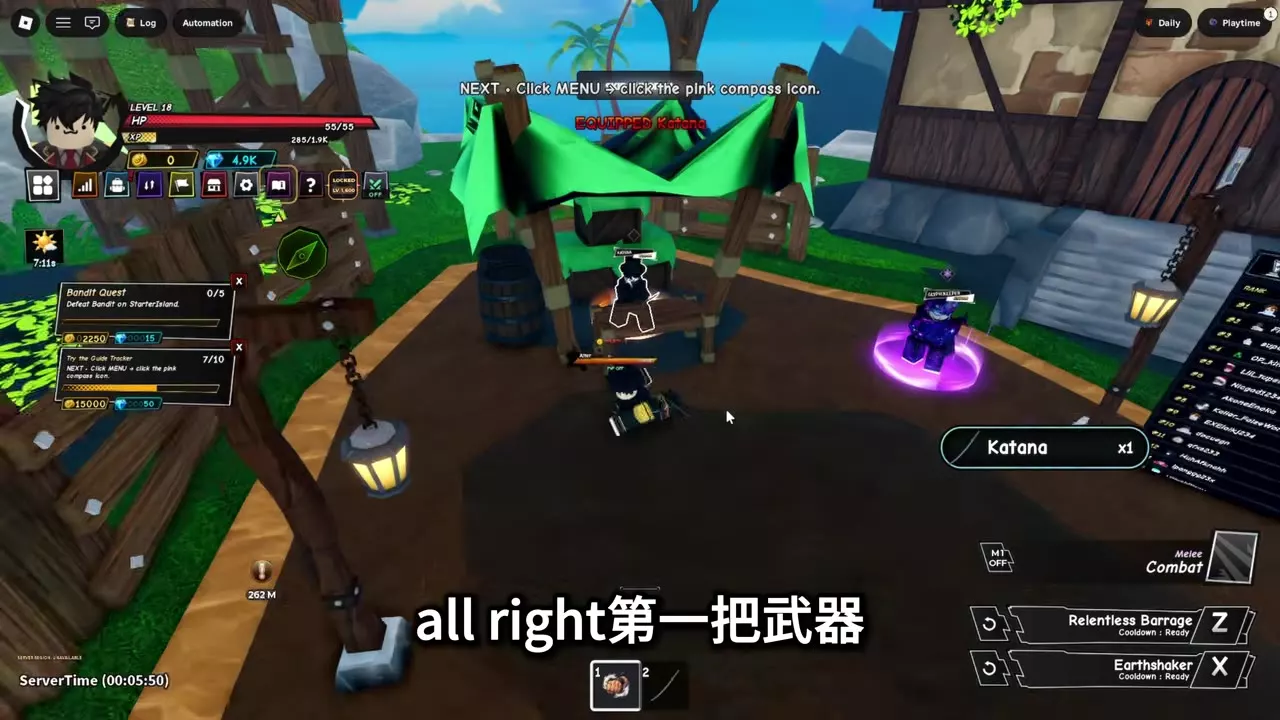
Use Combat until you buy Katana or get a fruit power you want to build around. Katana costs 100,000 Money and 150 Gems at the green stall on Starter Island. Use your tutorial funds, select Katana on the hotbar, then use Swift Sever (Z), Steel Rush (X), and basic attacks in the Bandit enclosure. Keep the setup for Level 50 Sigma Bandits if it still clears groups comfortably. If Bandit Captain keeps knocking you out, add Defense and level up on regular Bandits before retrying.
Pick Ice when enemies are easy to group. Rotate Glacial Spire, Frostburst, and Glacial Hammer so you have another area attack as each one cools down. Pick Light if the route also involves travel. Radiant Bolt attacks from range, Prismatic Rush moves you forward, and Light Flight handles travel between fights. With Fire, open from in front of the pack and follow with wide explosions. If you already have Sand, aim Desert Razor along the ground into a line of enemies. With Love, use Heartfall on a pack in front of you and Petrifying Charm when enemies close in from several sides. Keep the fruit that clears your current quests comfortably and put its damage points into Devil Fruit.
Upgrade for range or close-range damage
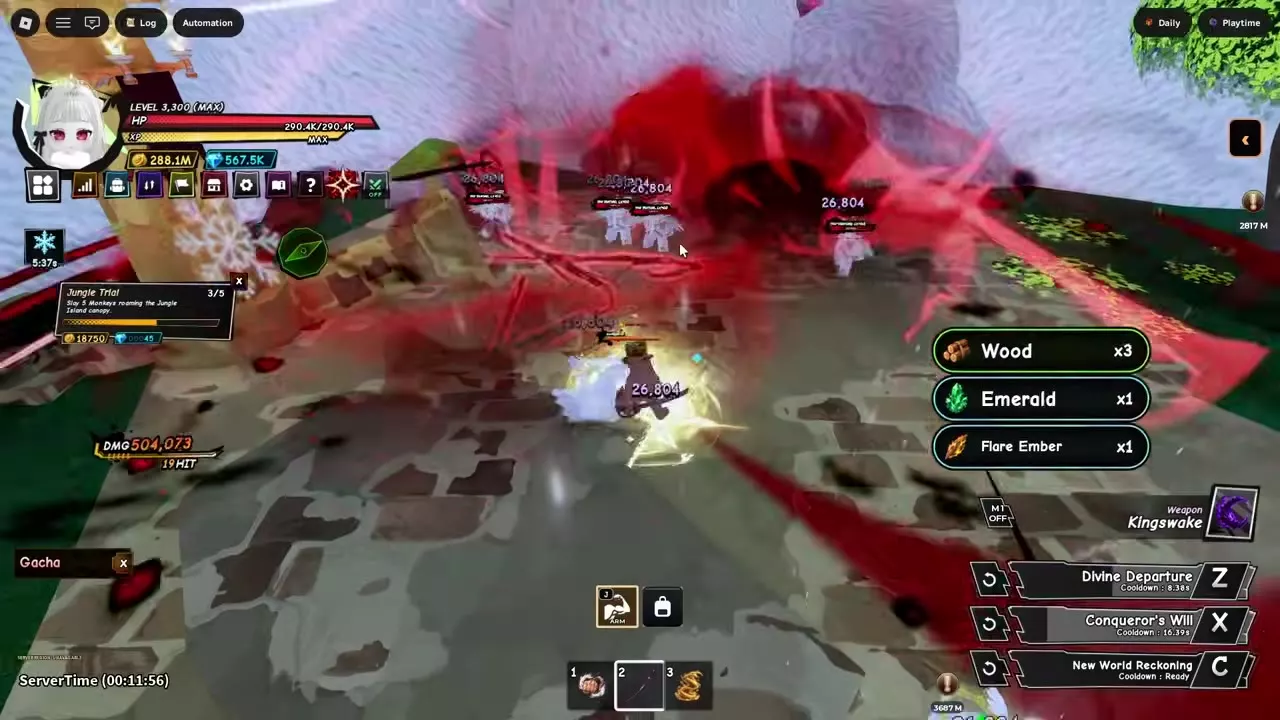
On Jungle Island, line up Nightfall's long Black Blade Flash (Z) to hit the boss and nearby Monkeys together. Move in for Midnight Riot (X) and use basic attacks while enemies are in reach. The seller asks for 250,000 Money, 350 Gems, 4 Nightfall Chips, and 7 Darksteel.
Choose Kingswake when you can bring enemies together at close range, such as Grade 2 Sorcerers in Shibuya. Hold New World Reckoning (C) until the pack is grouped, then use your other attacks during its longer cooldown. The seller by the large bell on Sky Island requires Royal Crest, Darksteel, Money, and Gems.
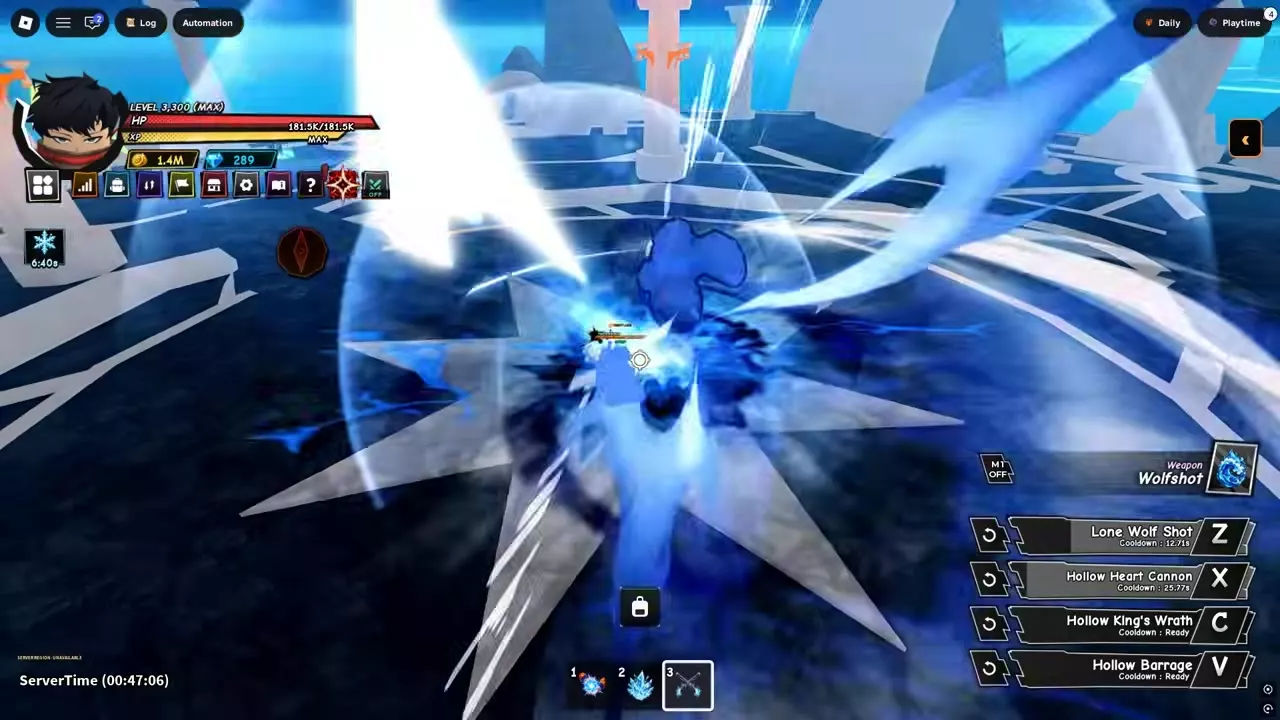
For the bosses you need to farm for Rend, keep Kingswake + Flash Fist if you can stay close and deal enough damage. Switch to Flash Fist when your sword skills are cooling down, and use Black Flash when you're in reach. If you need more damage from a safer distance, consider Wolfshot for its energy shots and repeated beams. The seller above the Arena Island waterfall requires 750,000 Money plus materials.
Pick a second set of attacks for Normal dungeons
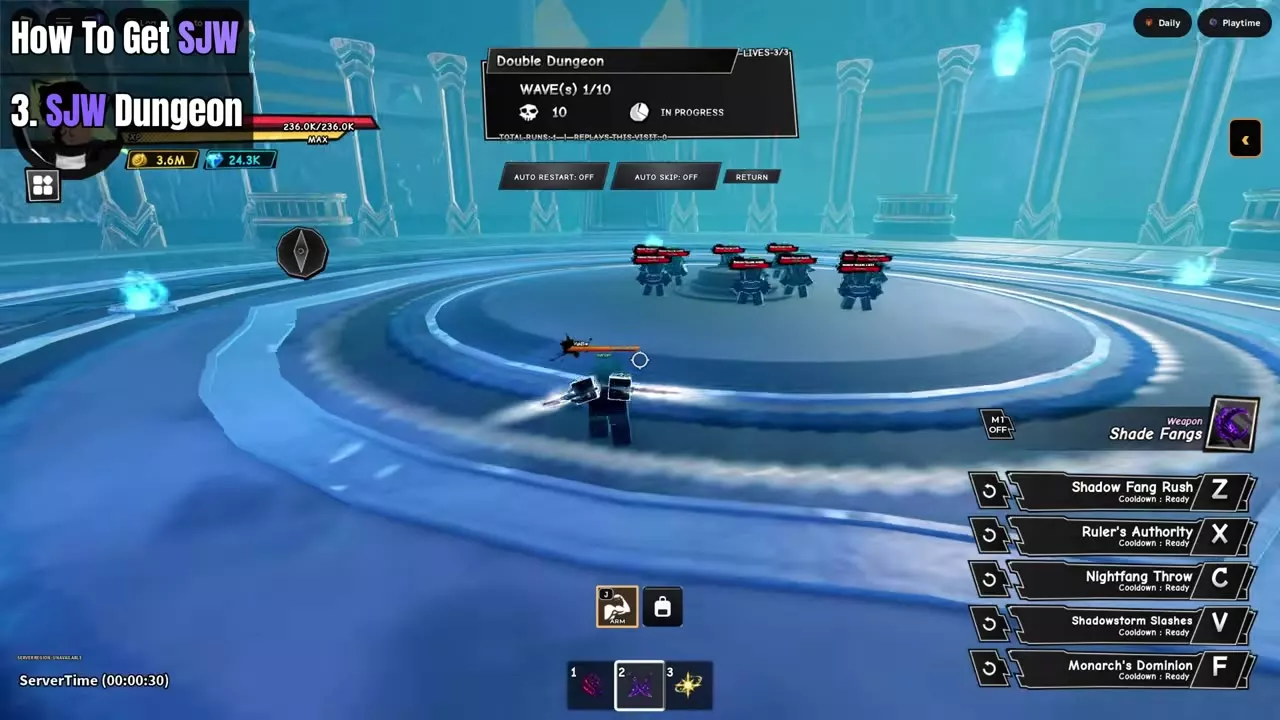
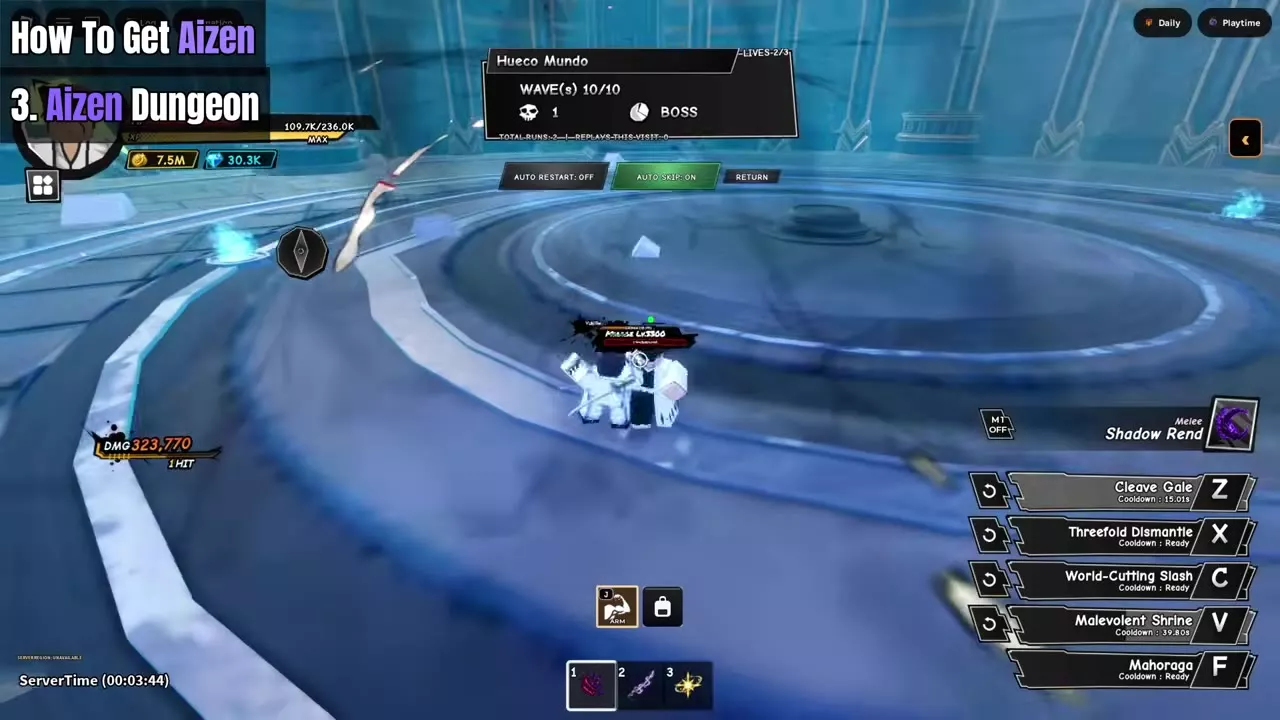
Start on Normal with enough Defense to survive the waves. In Double Dungeon, use Shade Fangs' forward rush to reach the opening pack of ten enemies and use its wide slashes on the group. In Hueco Mundo, bring Mirage for its area bursts and use it on the final boss. For either Wave 10 boss, swap to Shadow Rend when your sword skills are cooling down, then return to the sword when its attacks are ready. Both pairs have cleared their respective maps solo on Normal. If you use Void Nova in Hueco Mundo, keep moving during the boss fight and cast its ready skills as you reposition. Shade Fangs and Mirage are sold on Solo Island. Shadow Rend and Void Nova have story unlocks starting at Level 2,800.

Match Your Stats, Slots, and Passives
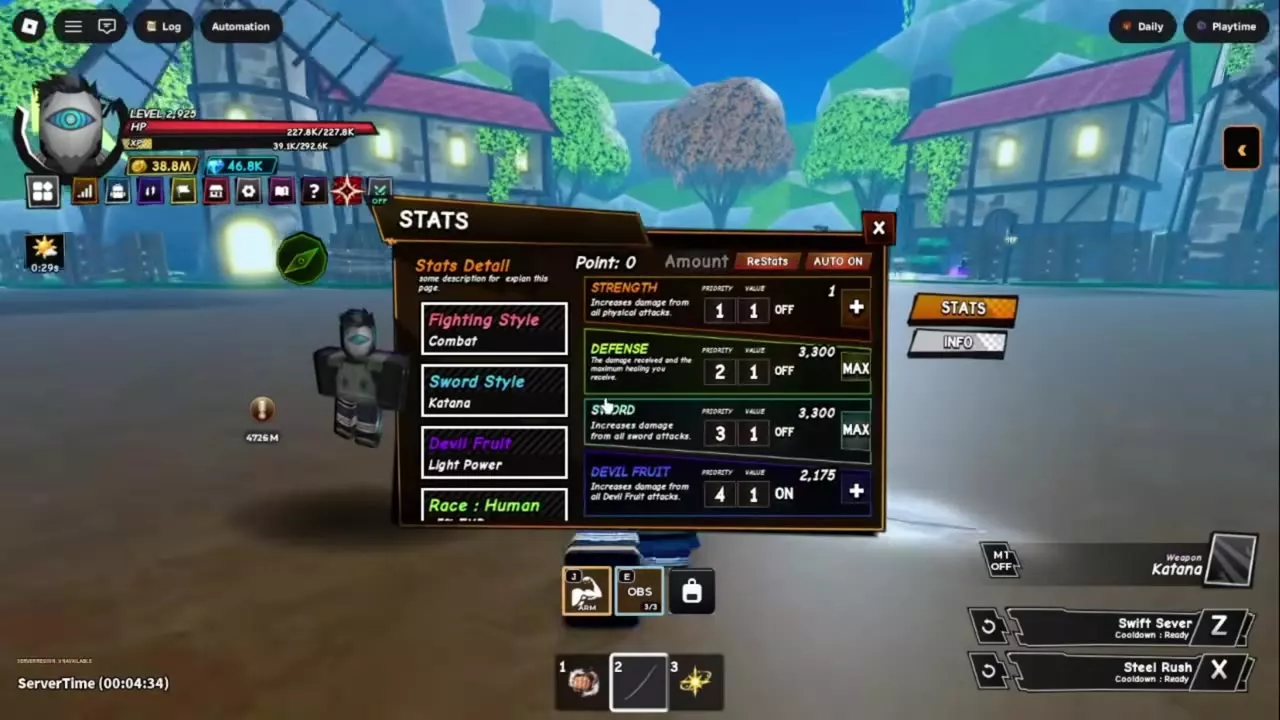
Your sword, fighting style, and fruit power occupy separate combat slots. In STATS, check what you have equipped and put points into the stat that supports your main attacks. Sword boosts sword damage, Strength boosts physical attack damage, and Devil Fruit boosts fruit damage. Pair your main damage stat with Defense. Favor damage if you can stay in the fight comfortably, or use a more even split if incoming hits are cutting runs short. Open INFO in STATS and select an attribute to see its total and where each bonus comes from.
Choose passives for the fight
- Nocturne gives +18% Damage and +18% Lifesteal. Use it to recover health through attacks when you can keep landing hits on a boss.
- Celestial gives +20% Damage, +20% EXP, and +20% Money. Use it on leveling routes where you already survive comfortably and want more from each clear.
- Limitless gives 10 seconds of damage immunity every 2 minutes, plus +10% Dodge Distance and +15% Debuff Resistance. Use it when a longer dodge and a periodic immunity window help you stay in the fight.
- Foxfire Set gives +10% Melee Damage, +5% HP, and +8% Dash Distance at 0 stars. Equip it when your fighting style handles a substantial share of the damage and you need mobility between casts.
Choose a fighting style that fits your second slot
If you pull an early banner style, Foxfire gives you Six-Tail Ascension and a sword-swap option, while Jackpot gives you a forward opener and a close-range blast. Under UP RATE II, Foxfire is listed at 0.5% per roll and Jackpot at 0.25% per roll on their respective banners. For story builds, choose Shadow Rend when you want Malevolent Shrine to keep hitting clustered enemies after its cinematic or want the Mahoraga form once unsealed. Choose Void Nova when you want to space out Purple Cataclysm and Unlimited Void and use its three shorter attacks between them.
Cast Mirage skills in Foxfire's six-tail form
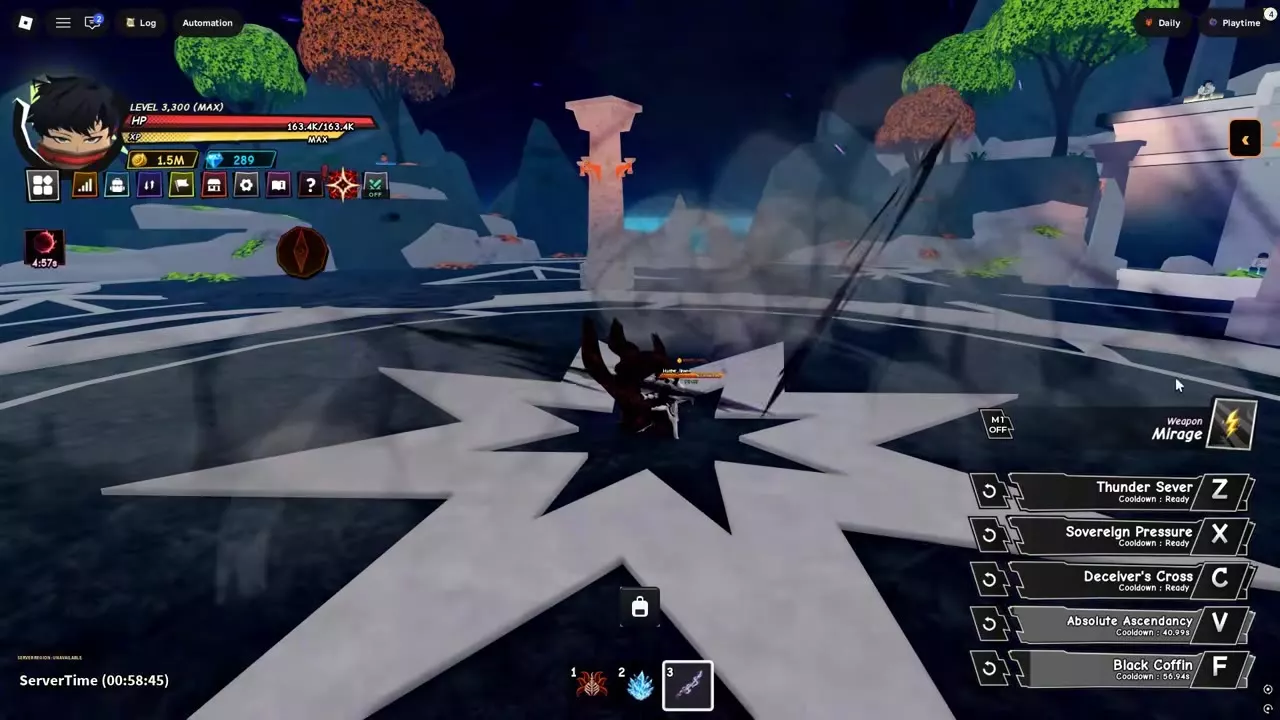
- Equip Foxfire in Melee and Mirage in the sword slot. Activate Six-Tail Ascension, then select Mirage on the hotbar while the form is active.
- Cast Black Coffin (F). When the animation ends, Black Coffin goes on cooldown and you still have the Mirage skill bar in six-tail form.
- Follow with Absolute Ascendancy (V) when it's ready. The form stays active through the cast, and V starts its own cooldown.
Save and Load Build Sets
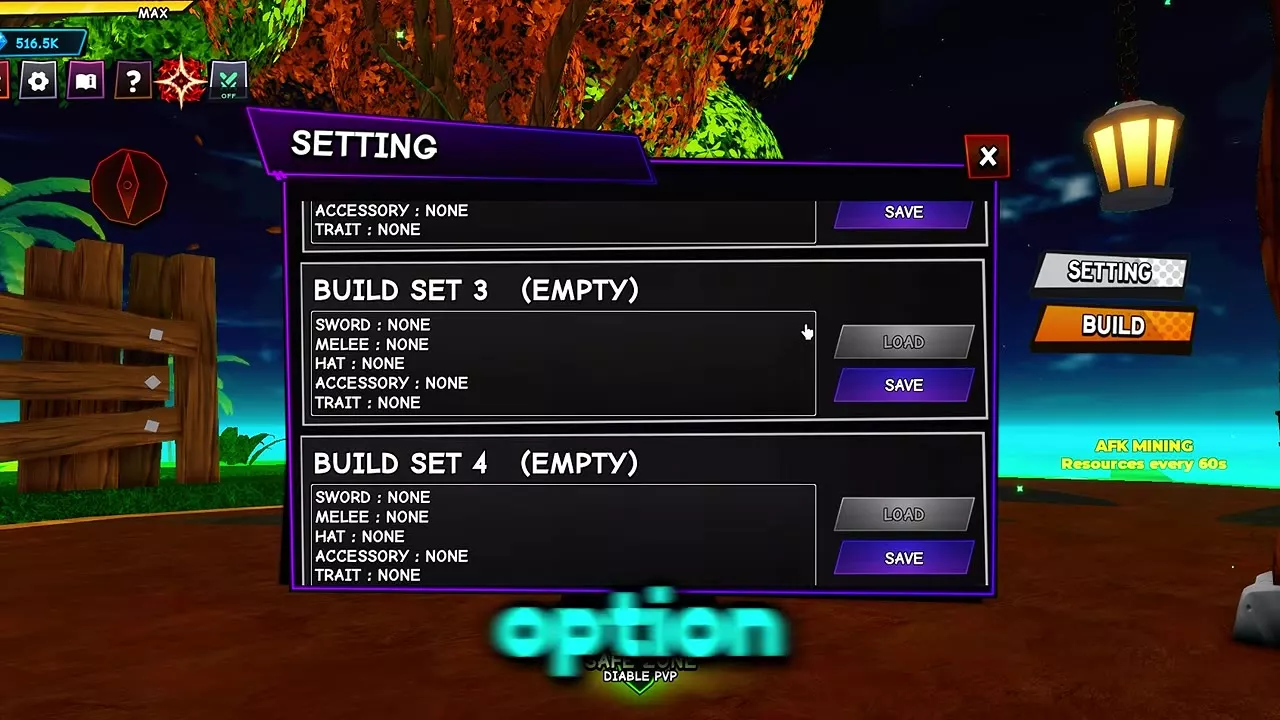
Equip the Sword, Melee, Hat, Accessory, and Trait you want in the preset.
- Open Settings and select BUILD on the right.
- Scroll to a numbered Build Set. An unused slot says EMPTY and shows NONE in all five entries.
- Select SAVE on that slot. To switch back to the preset later, return to BUILD and select LOAD on the saved slot.
Use separate slots for your farming and boss setups so you can switch between their equipment and traits from the same menu.
Upgrade or Practice Your Build
- Set up automatic point spending or reset base points in the stat points guide. Use stat rerolls for percentage bonuses such as Cooldown Reduction, or use the Skill Tree to invest in nodes such as Boss DMG or Cooldown.
- If a shield is slowing down your boss clear, match an attack slot to its weakness before switching back to your main damage source. Element chart and boss shield weaknesses
- Put damage and cooldown bonuses on the weapon you use most. For example, Cursed Chrome · Piece 2 at +0 gives +5% Damage Boost, +10% Critical Rate, and +5% cooldown reduction. Glyphs and resonance
- Find sellers and material requirements or compare moves and passive bonuses before changing your setup. Weapons · Fighting styles · Devil Fruits · Accessories · Races · Traits
- Practice clearing packs and switching slots on Normal before moving up to Hard or Extreme. Double Dungeon and Hueco Mundo walkthroughs
Articles and guides
9Multiversal Piece Stat Points, Auto Allocation, and ReStats
Learn what each Multiversal Piece stat does, how to allocate points manually or with AUTO, and how to reset them with ReStats.
Multiversal Piece Stat Rerolls and Reroll Shards
Find the Stat Reroll Station in Multiversal Piece, buy Reroll Shards, compare single and all-stat costs, and check rank bonuses.
Multiversal Piece Skill Tree and Skill Points
Unlock the Multiversal Piece Skill Tree at level 25, find its NPC, compare nodes, and earn Skill Points from NPC defeats.
Multiversal Piece Haki Guide for Armament and Observation
Find the Sky Island Haki Master, get the costs and tasks for Armament and Observation Haki, and learn how to upgrade both and turn on Auto Haki.
Multiversal Piece Element Chart and Boss Shield Weaknesses
Check all eight Multiversal Piece element matchups and learn which attacks break Jetheel’s Flame Shield and Mirage’s Lightning Shield.
Multiversal Piece Glyph Guide: Equip, Upgrade, and Activate Resonance
Get Multiversal Piece Glyphs from dungeons, find Glyph Keeper, equip a matching set and check upgrade costs and success rates.
Multiversal Piece Races: Buffs and Roll Chances
Compare roll chances and buffs for all six Multiversal Piece races. Choose between Celestial’s farming bonuses, Nocturne’s lifesteal, and races built for travel or defense.
Multiversal Piece Traits and Roll Chances
Compare all 17 Multiversal Piece traits by rarity, roll chance, and passive effect. Find the best fit for skill cooldowns, basic attacks, defense, Domains, or Shadow Summons.
Multiversal Piece Accessories: Sources and Stats
Find Multiversal Piece accessories, their sources and drop rates, Foxfire Set stats, and how to equip bonuses or change your look.